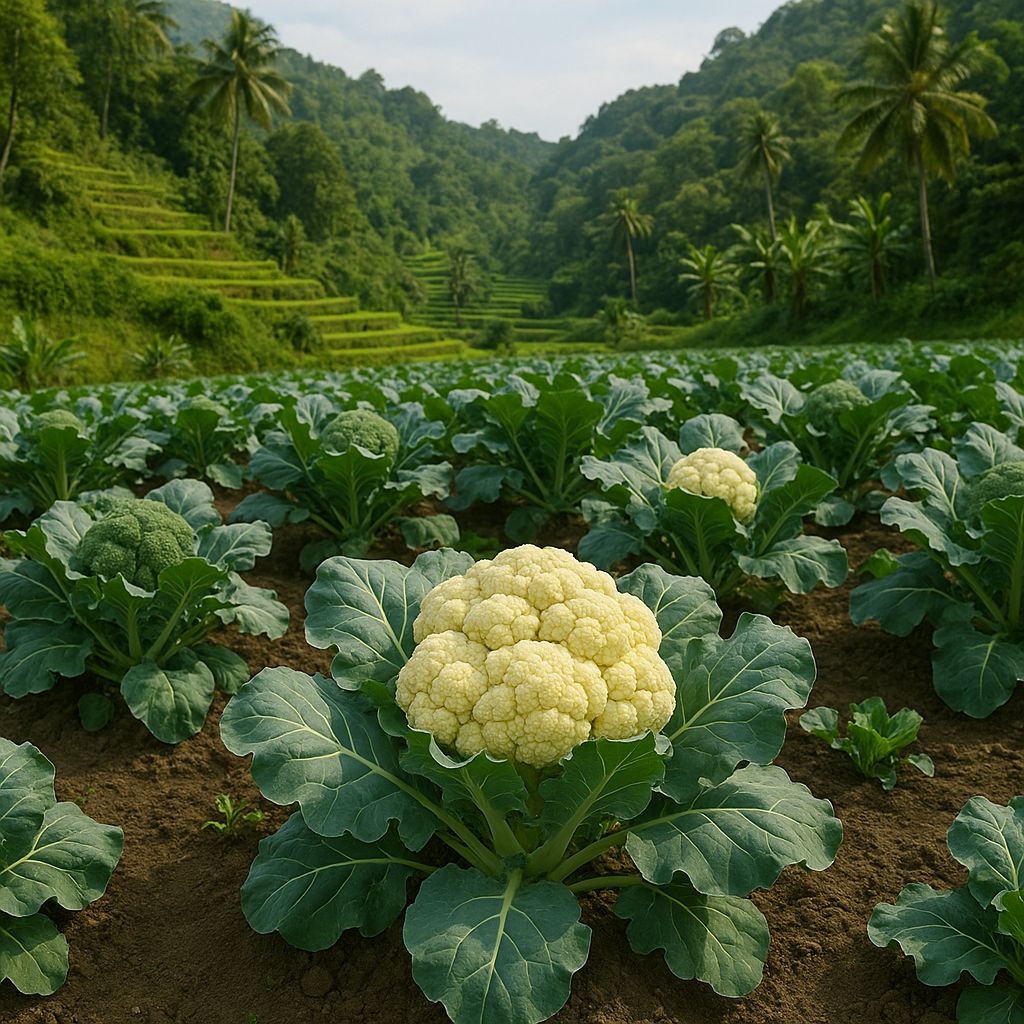
Cauliflower—bulaklak na repolyo—may seem like a temperate crop, but with careful timing, soil prep, and microclimate management, you can harvest its white, compact heads from highland farms in Bukidnon to shaded lowland beds in Bulacan. After experimenting with cauliflower under shade cloth in Bulacan and trading tips with growers in Tagaytay and the Cordilleras, here’s a method that delivers firm, well-formed curds in as little as 75 days almost anywhere in the Philippines.
Variety Selection
Heat-tolerant, early-maturing hybrids such as “Snow Crown” and “Asian Magic” are best for lowland gardens; they set heads quickly before April’s midday peaks. In cooler uplands, classic long-season varieties like “Early Ukina” or “Pusa Katangi-tangi” give larger heads but require frost-free nights around 12–16 °C. Planting both types extends harvest windows and offers both tender small curds and large culinary heads.
Timing and Microclimate
Cauliflower thrives when daytime temperatures stay between 18–24 °C and nighttime lows hover at 12–16 °C. In lowlands, sow seeds under shade cloth from November through January and transplant in December or February. In uplands, sow as early as October for November transplants. In Bulacan, I start seedlings in early December, move them into a north-facing bed under bamboo slats by late December, and watch heads mature by mid-March—just before the rains intensify.
Soil Preparation
Deep, fertile, well-draining loam with abundant organic matter is essential. I build raised beds 30 cm high, mixing two wheelbarrows of homemade compost with garden loam, then stir in rice hull charcoal to improve aeration. Sandy coastal fields benefit from added coconut coir or aged chicken manure. Aim for pH 6.0–6.8; if your soil trends acidic, a light application of agricultural lime balances it pre-planting.
Seedling Care and Transplanting
Start seeds in trays under 30–50 percent shade cloth, keeping the medium moist but not waterlogged. After four to six weeks—once seedlings have four true leaves—harden them off by gradually increasing sun exposure over a week. Transplant at 45 × 45 cm spacing in prepared beds, burying the lower stem to encourage strong roots. Water in thoroughly and mulch around transplants to conserve moisture.
Watering and Mulching
Even moisture is vital during head formation. Water deeply twice weekly—morning only—so soil stays damp 10–15 cm down, then let surfaces dry slightly. Mulch with rice straw or dried banana leaves to moderate temperature, suppress weeds, and conserve water.
Feeding and Side-Dressing
At transplant, mix a teaspoon of bone meal into each hole for phosphorus. Four weeks later—when heads begin to form—I side-dress with decomposed chicken manure along the drip line to support floret development. A late-cycle sprinkle of wood ash adds potassium for firmer heads. Excessive nitrogen late can produce soft, loose curds.
Pest and Disease Management
Cabbage loopers, aphids, and whiteflies may attack foliage; hand-pick caterpillars and spray neem oil early in the morning to protect beneficial insects. Floating row covers during the first month prevent flea beetle damage. To prevent downy mildew and black rot, ensure good spacing for airflow, prune any yellowing leaves, and avoid overhead watering.
Blanching (Curd Whitening)
For pristine white heads, blanch by gently folding outer leaves over the forming curd when it’s golf-ball size. Tie loosely with kitchen twine to shade the center. Blanching prevents sun scald and delivers the classic white cauliflower prized in markets.
Harvesting
Cauliflower heads mature 75–100 days after transplant, depending on variety. Harvest when curds are firm, compact, and 10–15 cm across—before side shoots open into yellow flowers. Cut heads with a sharp knife just below the base, leaving several wrapper leaves to protect any side shoots for secondary harvests.
Case Study
In mid-elevation Cavite, a cooperative uses simple shade tunnels and drip irrigation to grow cauliflower through April, filling gaps when lowland farms stop. They achieved two successive sowings for continuous harvests and sold heads at premium prices to supermarkets in Manila.
Final Thoughts
Cauliflower may demand more attention than many tropical staples, but its crisp, versatile curds—rich in vitamins—make the effort worthwhile. From mountain terraces to shaded backyard beds, mastering variety choice, soil health, timing, moisture, feeding, and simple blanching yields abundant cauliflower harvests season after season.
I’m open for consulting and speaking opportunities on sustainable vegetable production nationwide. Let’s grow together.
#BulaklakNaRepolyo #Cauliflower #PhilippineFarming #SustainableAgriculture #HomeGarden #ConsultingAvailable #SpeakingOpportunities